Winter Gardening
First, I just wanted to wish all our Out in Them Sticks readers, friends and family, Happy Holidays and a prosperous, healthy New Year! I apologize for the lack of posts lately. The hustle and bustle of the holidays combined with the exhaustion of the third trimester has meant that I haven't really gotten much other than the absolute must-do's complete and unfortunately, the blog just hasn't been on the must-do list.
I'm very happy to report that we had a very enjoyable, peaceful Christmas this year. Since having children, I have to say that the last few Christmases have been the best we have ever had. In fact, the past few years have been the best years of our lives. Sure, not every moment is peaches and sunshine, but the kids are at a great age and life is just plain good right now! I just wish I could press the pause button.
The kids were really into Christmas this year. Santa came into town and spoiled the kids rotten. Nick and I have been able to benefit from quite a bit of quiet time of late with all the new toys keeping the kiddos occupied! Nick is using the extra time to help us finally set up the nursery for #3. I guess you could say it's about time being just 5 or so weeks left now.
My ladybug turned 4 today which is just crazy to me. We don't celebrate her birthday until her half birthday though because it is just so close to Christmas. I've been hoping to get everyone on board with that but we've had mixed success. In the future, she will decide when she wants to celebrate but for now, I think it's good we set up this tradition so it doesn't get overshadowed. With just a day between Christmas and her birthday I just know that we can't give her a proper celebration!

Ladybug and Olive playing in this winter's first snow.
Thus far, it has been a cold winter for us. We've been lucky though and have only had two light snows. Most of it has melted now. I finally managed enough nerve to go out and pick some of the salad greens we've been growing in the garden this afternoon. The wind was something else though and I could barely feel my fingers by the time I was done cutting. I suppose I will have to wear gloves and a coat next time I attempt to pick salad greens!
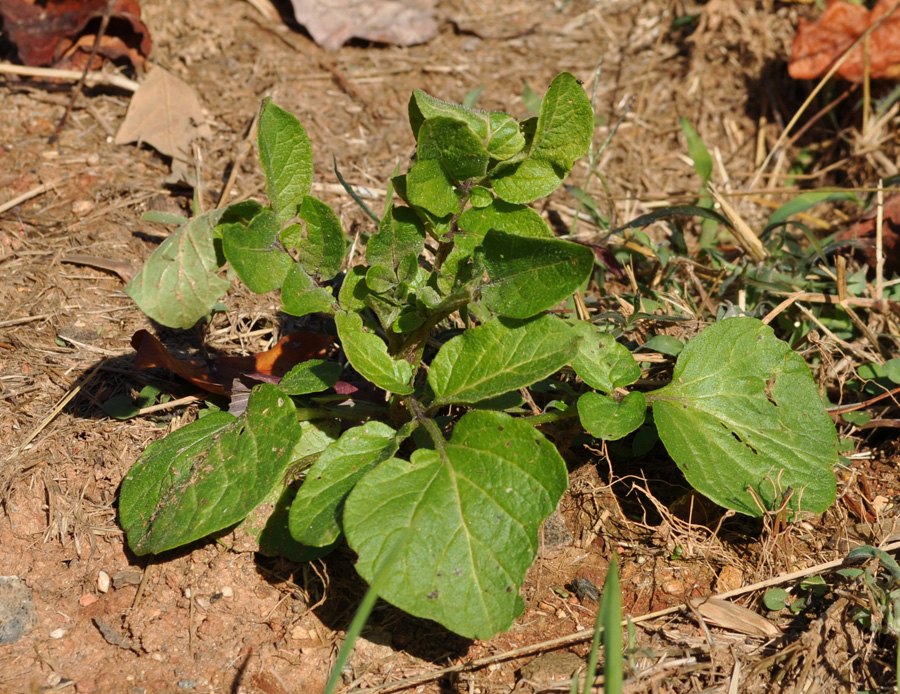
The plants under row covers are doing fine though they certainly aren't growing fast. They resemble more micro-greens than the mature versions we saw this spring. The mesclun lettuce mix that sewed itself after the previous spring planting and isn't covered has mostly died back except for the Mache and Red Deer Tongue. They are alive and well despite the light snow and hard frosts. Let me tell you the colder weather has done wonderful things for the flavor of the mache. It is extra spicy and delicious. I MUST not slack next year come fall. They are such a treat.
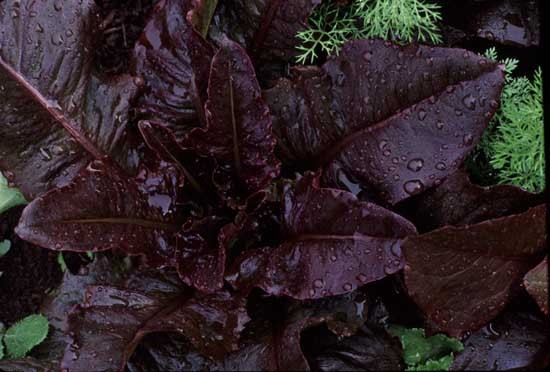
Red Deer Tongue

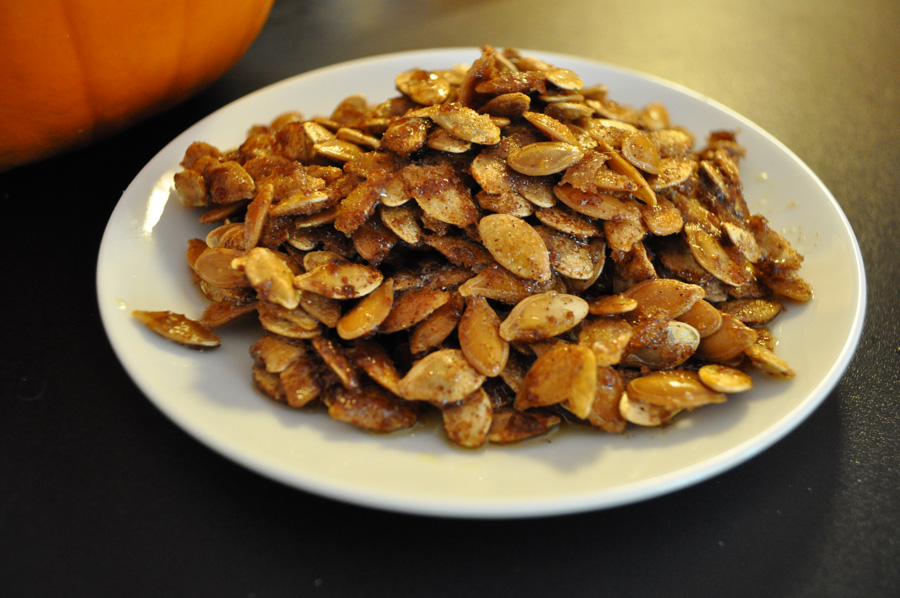
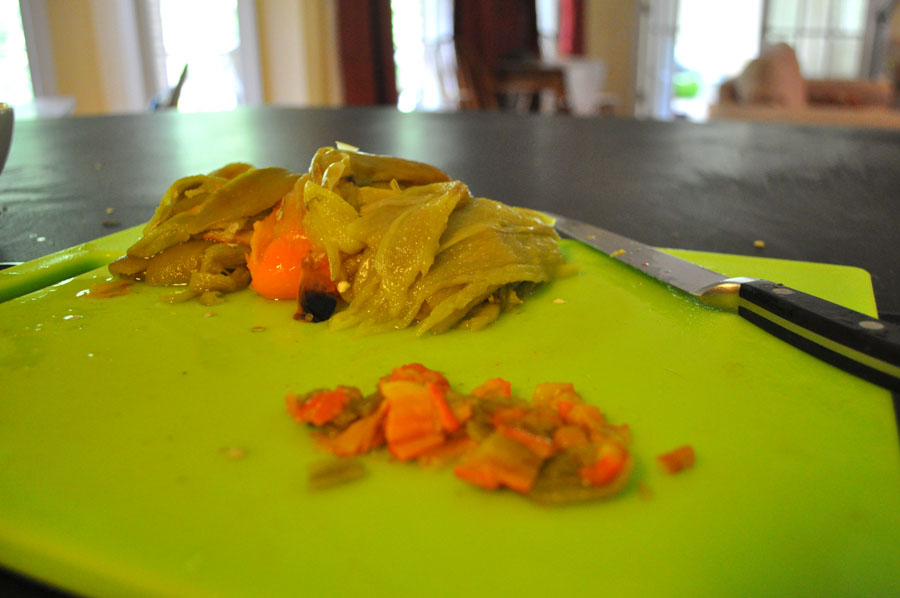
Today's Pickins!
posted by Out in Them Sticks at
December 27, 2010
2 Comments
![]()


